A kitchen renovation is exciting, but a little preparation before demolition day can make the entire process much smoother. Your kitchen may be out of use for several weeks, there will be dust and noise, and installers need clear access to work efficiently.
Preparing your home ahead of time helps protect your belongings, keeps the renovation area safer, and makes daily life much more manageable while your new kitchen comes together.
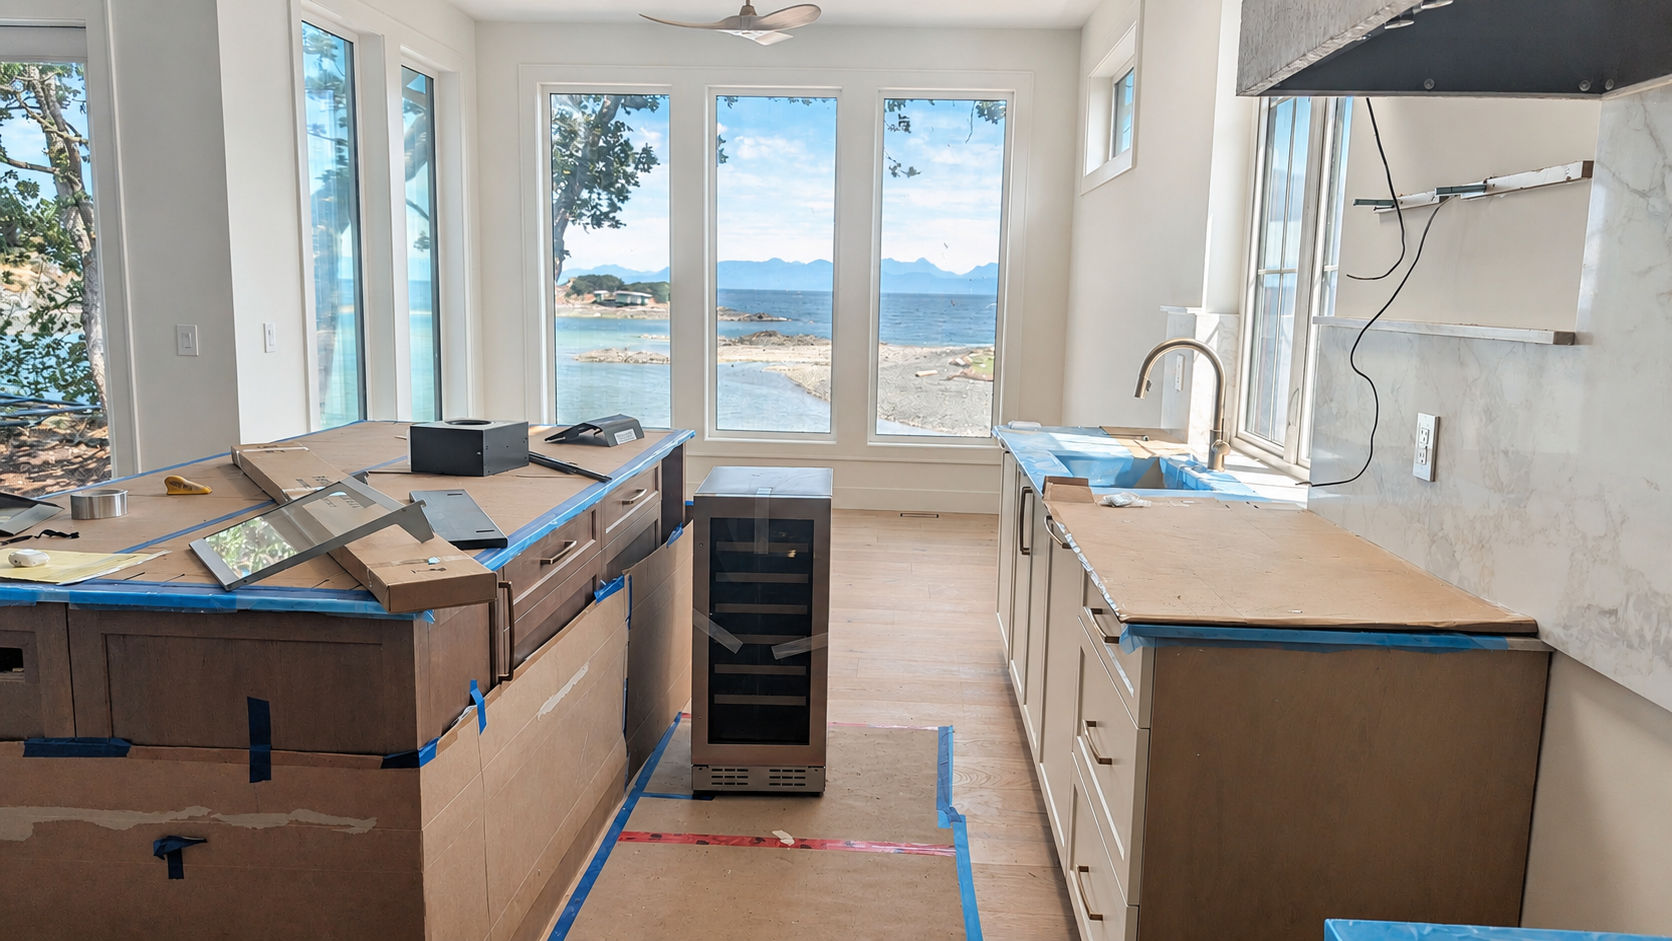
Setting up a temporary kitchen outside the renovation zone is one of the best things you can do before work begins. A dining room, laundry room, basement, covered patio, or garage can all work well, depending on your home.
Keep the setup simple. Plan for easy meals, snacks, coffee, and cleanup rather than trying to recreate your full kitchen.
Helpful temporary kitchen essentials:
- Microwave, toaster oven, hot plate, air fryer, or BBQ
- Coffee maker, kettle, and mini-fridge or existing fridge
- Paper plates, reusable cups, basic cutlery, and dish towels
- One or two pots, pans, and cooking utensils
- Easy meals that can be reheated
- A small bin or shelf for everyday pantry items
During warmer months, grilling is a great option. Many homeowners also rely on paper plates and simple meals to reduce dishwashing while the kitchen sink is unavailable.
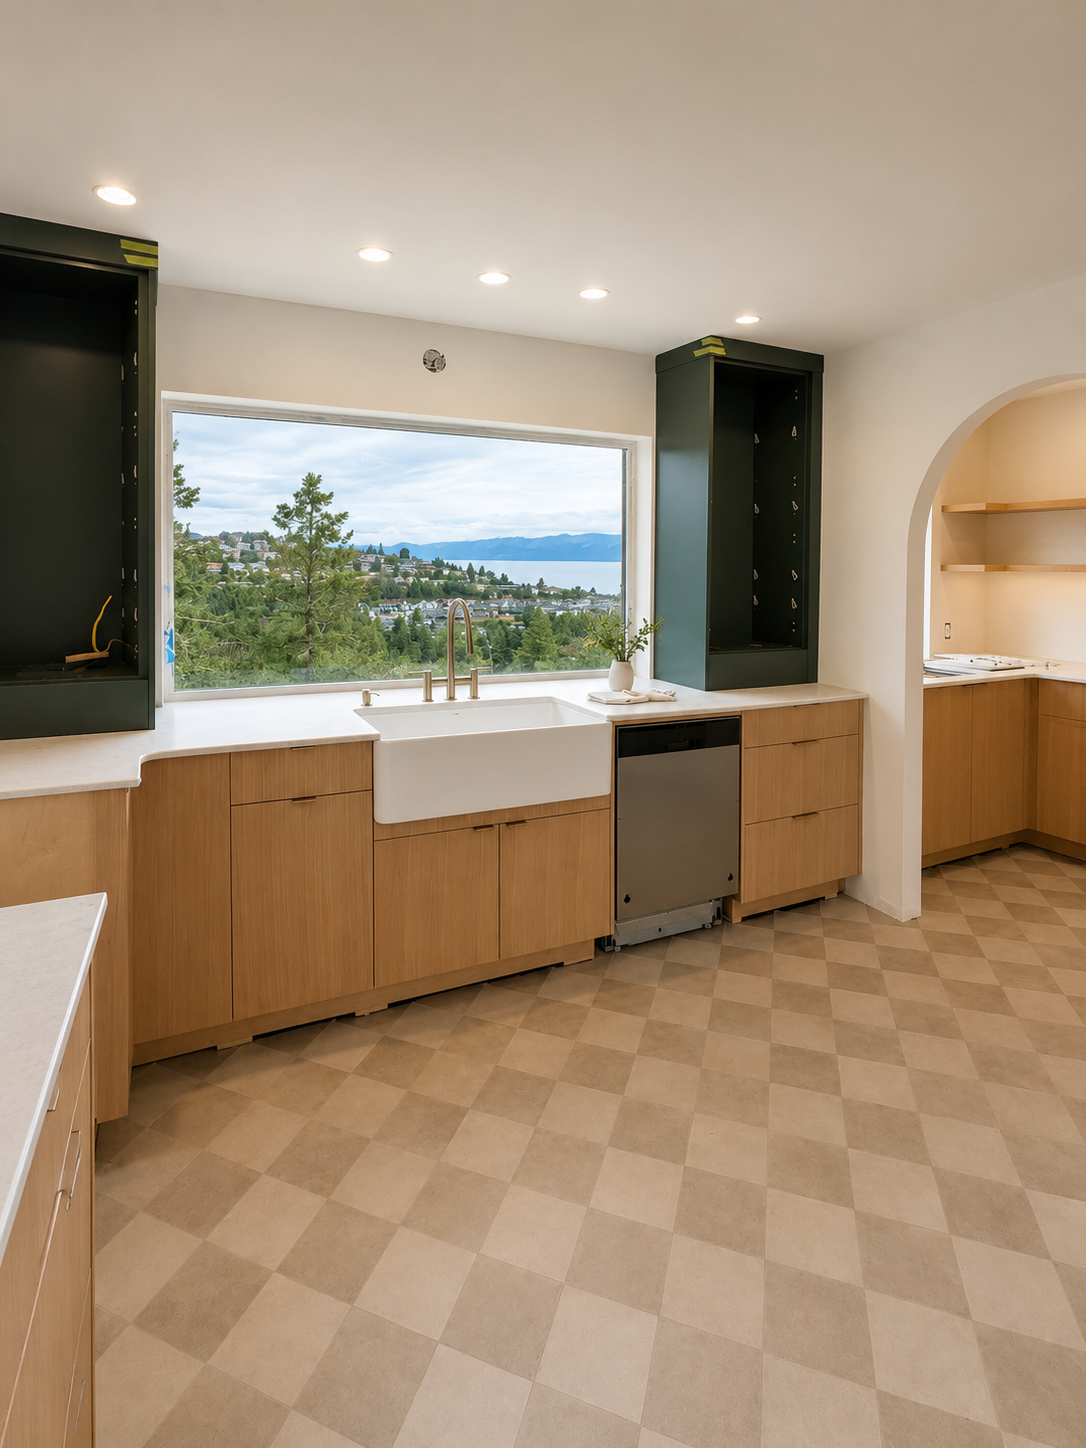
Start packing your kitchen at least a week before demolition day. Packing a little at a time is much easier than trying to clear every cabinet and drawer the night before work begins.
This is also a great opportunity to declutter. Set aside anything expired, broken, duplicated, or no longer used before it goes into a box.
Pack smarter by:
- Using labelled boxes or clear bins by category
- Keeping one box of daily essentials easy to access
- Wrapping dishes and glassware with packing paper, towels, or bubble wrap
- Using banker boxes for items you may need during the renovation
- Keeping a simple inventory list on your phone
Set aside shelf space in your temporary kitchen for the things you still use regularly, such as coffee, mugs, snacks, medications, lunch containers, and basic cooking tools.
This is a renovation, so dust is expected. Even with careful containment, fine dust can travel into adjoining rooms and settle on furniture, electronics, artwork, and decor.
Before work begins, remove or protect anything sensitive near the kitchen and renovation pathway.
Before demolition, consider:
- Covering nearby furniture, electronics, and soft furnishings
- Removing artwork and photos from walls near the renovation area
- Packing away decor, nicknacks, and open-shelf items in adjoining rooms
- Removing curtains, area rugs, and fabrics that can trap dust
- Laying down items displayed in china cabinets or curio cabinets
- Using zipper-wall barriers to seal off spare bedrooms, laundry rooms, or primary bedrooms near the work zone
Protecting these areas in advance makes cleanup much easier once the renovation is complete.
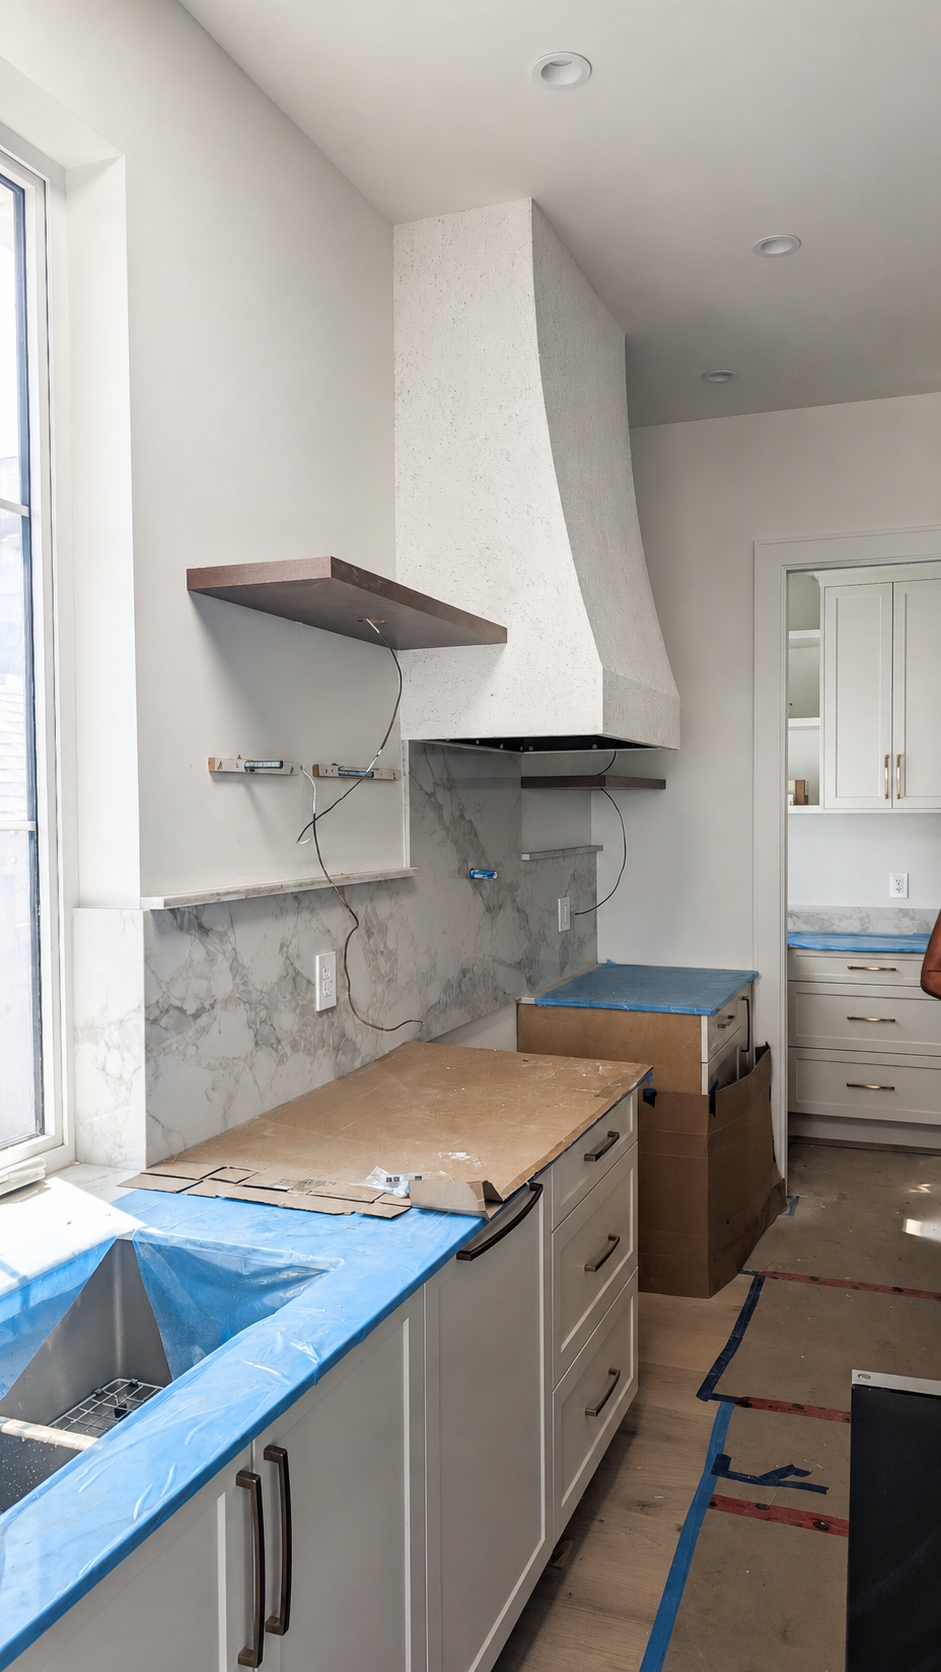
Installers may need a nearby, dry workspace for cutting, adjustments, and preparation work. A covered deck, garage, carport, or sheltered area close to the kitchen is usually ideal.
Please make sure this area is clear, dry, and accessible before installation begins. It should also have active, accessible power outlets for tools and equipment.
Your workspace should be:
- Close to the renovation area
- Covered and protected from rain
- Clear of vehicles, storage, and personal items
- Large enough for safe cutting and prep work
- Supplied with accessible, active power outlets
Before cabinet delivery, create a clean and accessible staging area near the renovation zone. Cabinets cannot be placed inside the kitchen itself because installers need that space clear for installation.
Choose a nearby room, hallway, protected living area, or other accessible space where cabinets can be safely stored until they are installed.
Important delivery notes:
- Keep the renovation zone clear for installers
- Create a nearby accessible space for cabinet staging
- Ensure the route from delivery to the home is clear
- Remove obstacles from hallways, stairs, and entryways
- Protect flooring along the delivery route where needed
Garage delivery may be possible if necessary. However, if cabinets are delivered to the garage, it is the homeowner’s responsibility to move them into the home before installation begins.
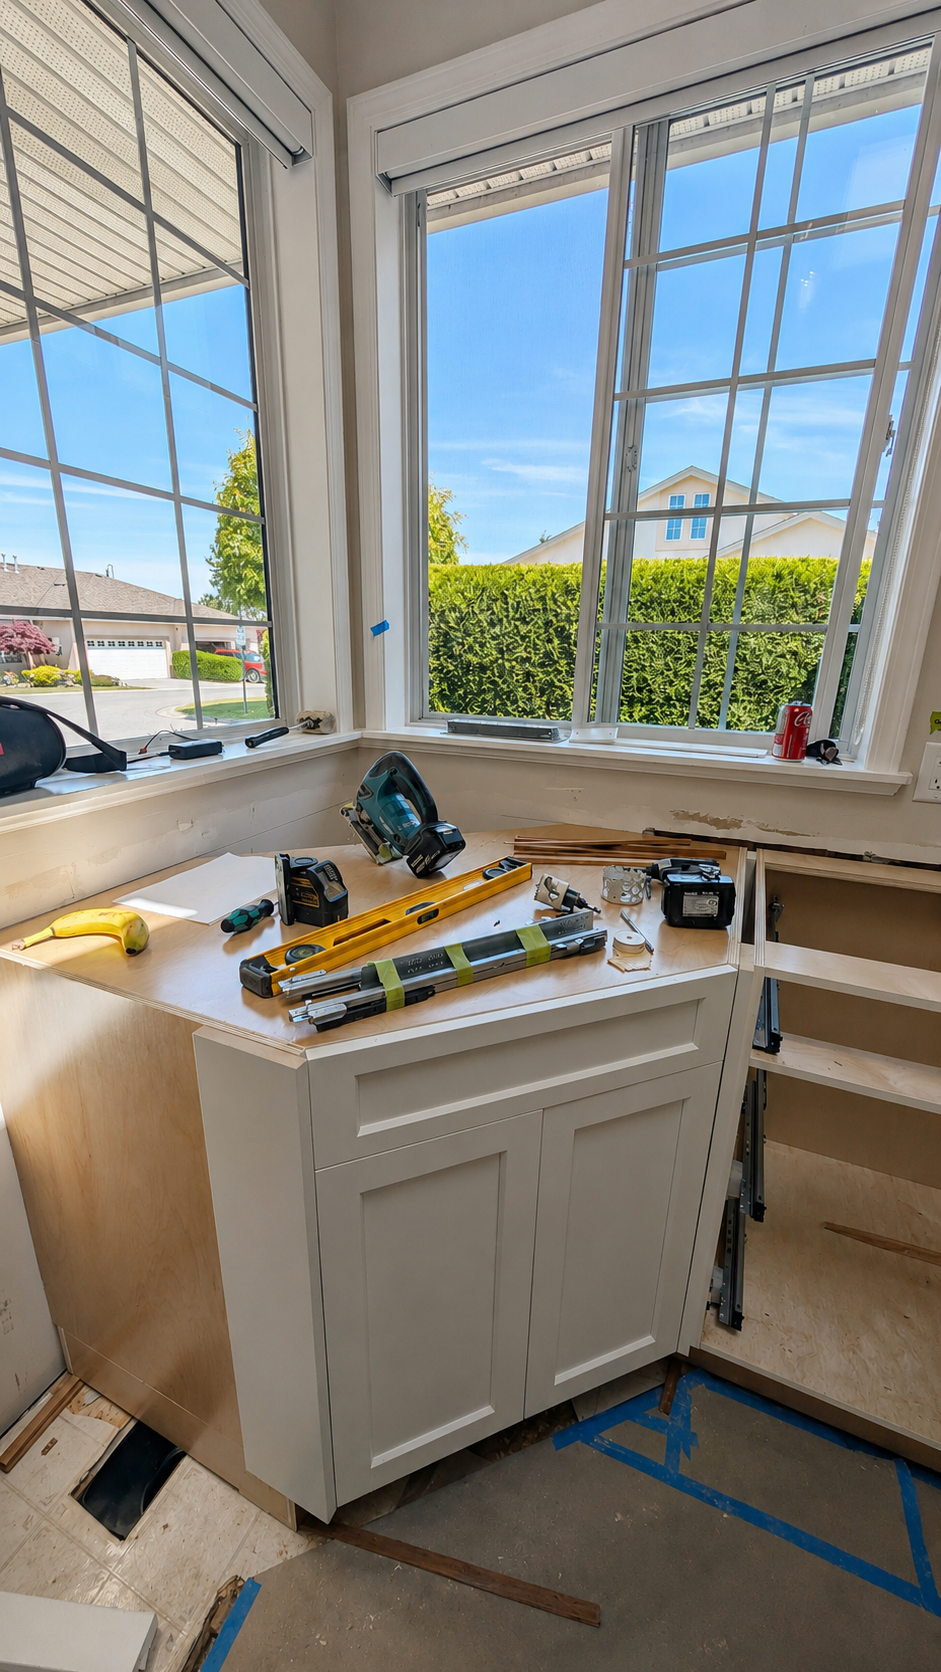
Renovation sites can be noisy, dusty, and unsafe for pets and children. Keep pets secure and away from installers, tools, open doors, deliveries, and the renovation area at all times.
Consider arranging pet care, using a closed room away from the work zone, or planning a quiet off-site place for pets during especially busy installation days.
Plan ahead for:
- Pets that may be stressed by noise or unfamiliar people
- Children moving through the home during work hours
- Open exterior doors during deliveries
- Tools, cords, dust, and construction materials
Before installation day, make sure your installers can access the property without delays. If your home has a gated entrance, keyless entry system, parking restrictions, alarm system, or special instructions, provide those details in advance.
Confirm ahead of time:
- Gate codes or keyless-entry instructions
- Parking availability for delivery trucks and installers
- Which entrance should be used
- Any stairs, narrow hallways, or access concerns
- Who to contact if questions come up on site
Clear communication before installation day helps the project start smoothly and keeps the team focused on the work.
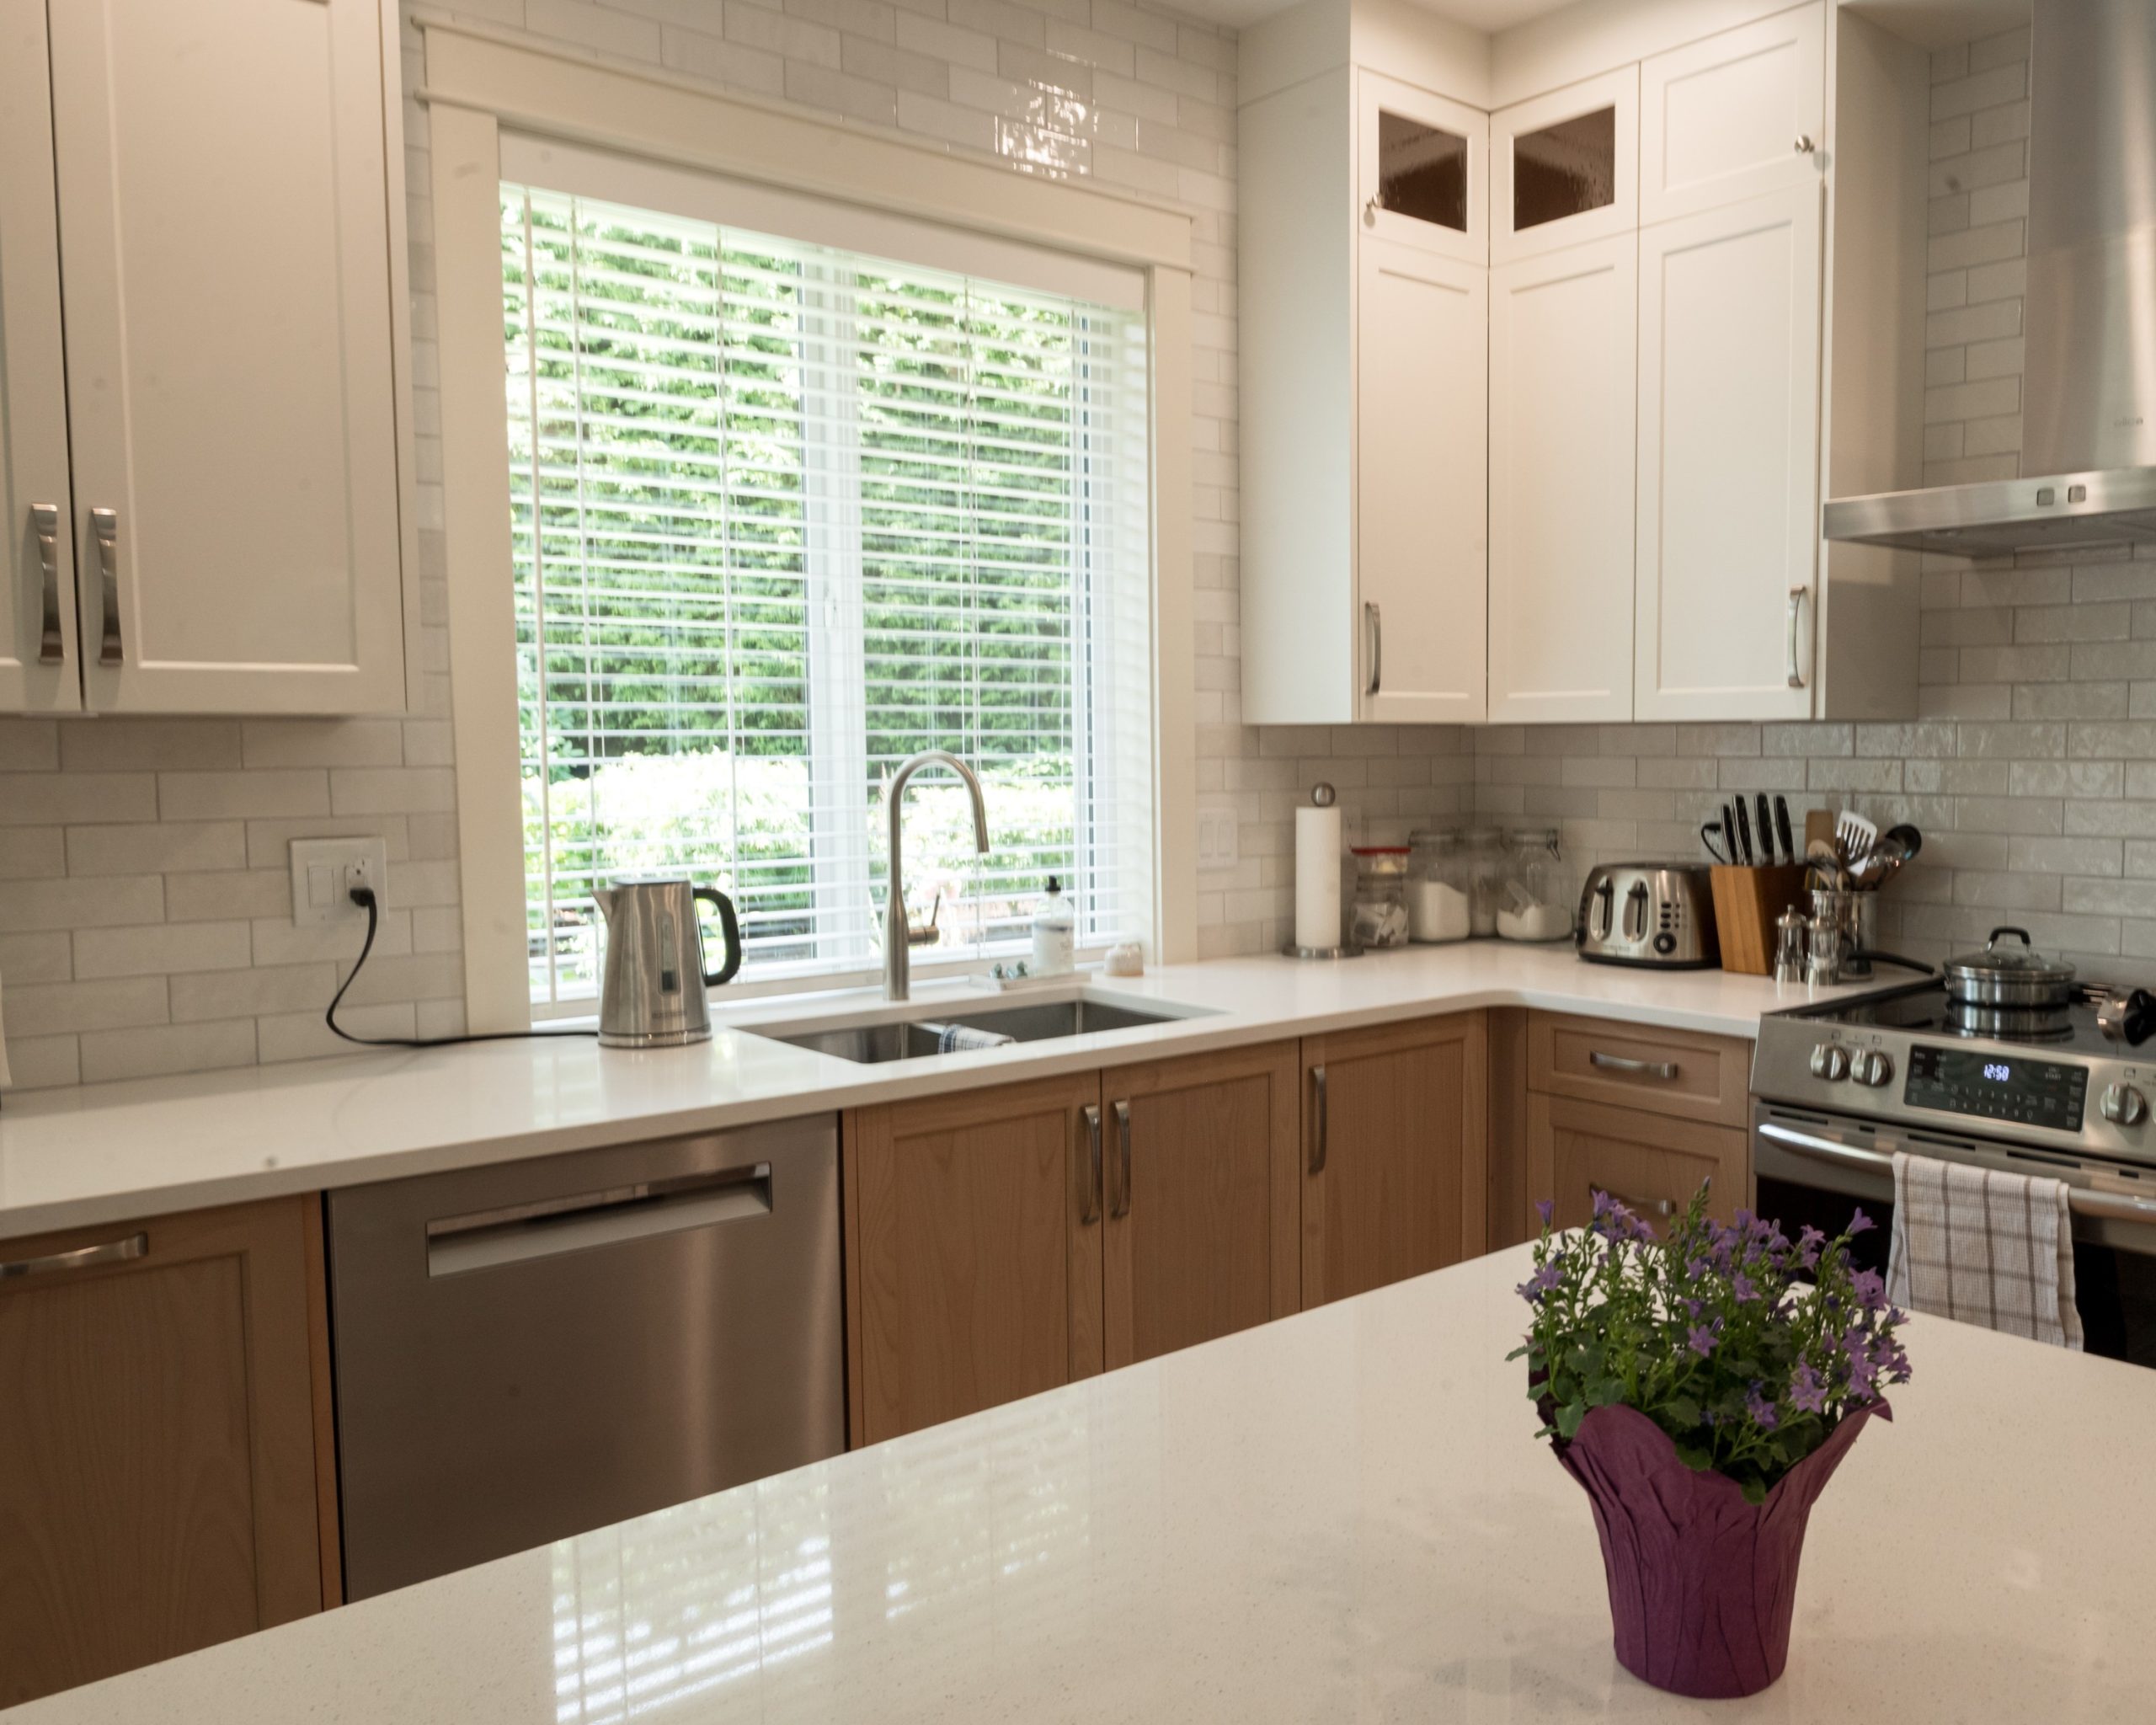
A kitchen renovation is completed in stages. Minor final adjustments are normal and are often completed during the installer’s final visit.
These details may include door alignment, shelf placement, glass inserts, handles, touch-ups, and other finishing items that ensure the kitchen looks and functions as intended.
Common final adjustments include:
- Door and drawer alignment
- Handle and knob installation
- Glass insert installation
- Shelf placement
- Minor trim or finish touch-ups
- Final checks for function and fit
| Before Demo Day | Before Cabinet Installation |
|---|---|
|
|
If you’re planning a kitchen, bathroom project in Nanaimo, Parksville, or anywhere across Vancouver Island, the team at Classic Kitchens & Design is here to guide you from the first design ideas to the final installation.